Coming into 2026, I decided that it was time to step outside the JVM and play around with some different languages. While Kotlin is still my goto language, jvm languages do come with their own baggage. I have used Go before and really liked the simplicity and performance of the language. It has a lot to like, but it does have a few things that I am not a fan of:
- No mutability built into the language
- Error handling is a bit clunky
- Lack of visibility modifiers
- Enum support is limited
Anyway, long story short, I decided to dive into a couple of new languages and see what I liked best. The main one being Rust and the other being V. V is a newer language that I have been wanting to try out for a while.
At some point last year I read an article called Convert an Image into Colourful Ascii Art which shows how to use python to display an image inside your terminal with colourful ascii characters. This seemed like a fun project to try out in V.
image-term is my take on the idea.
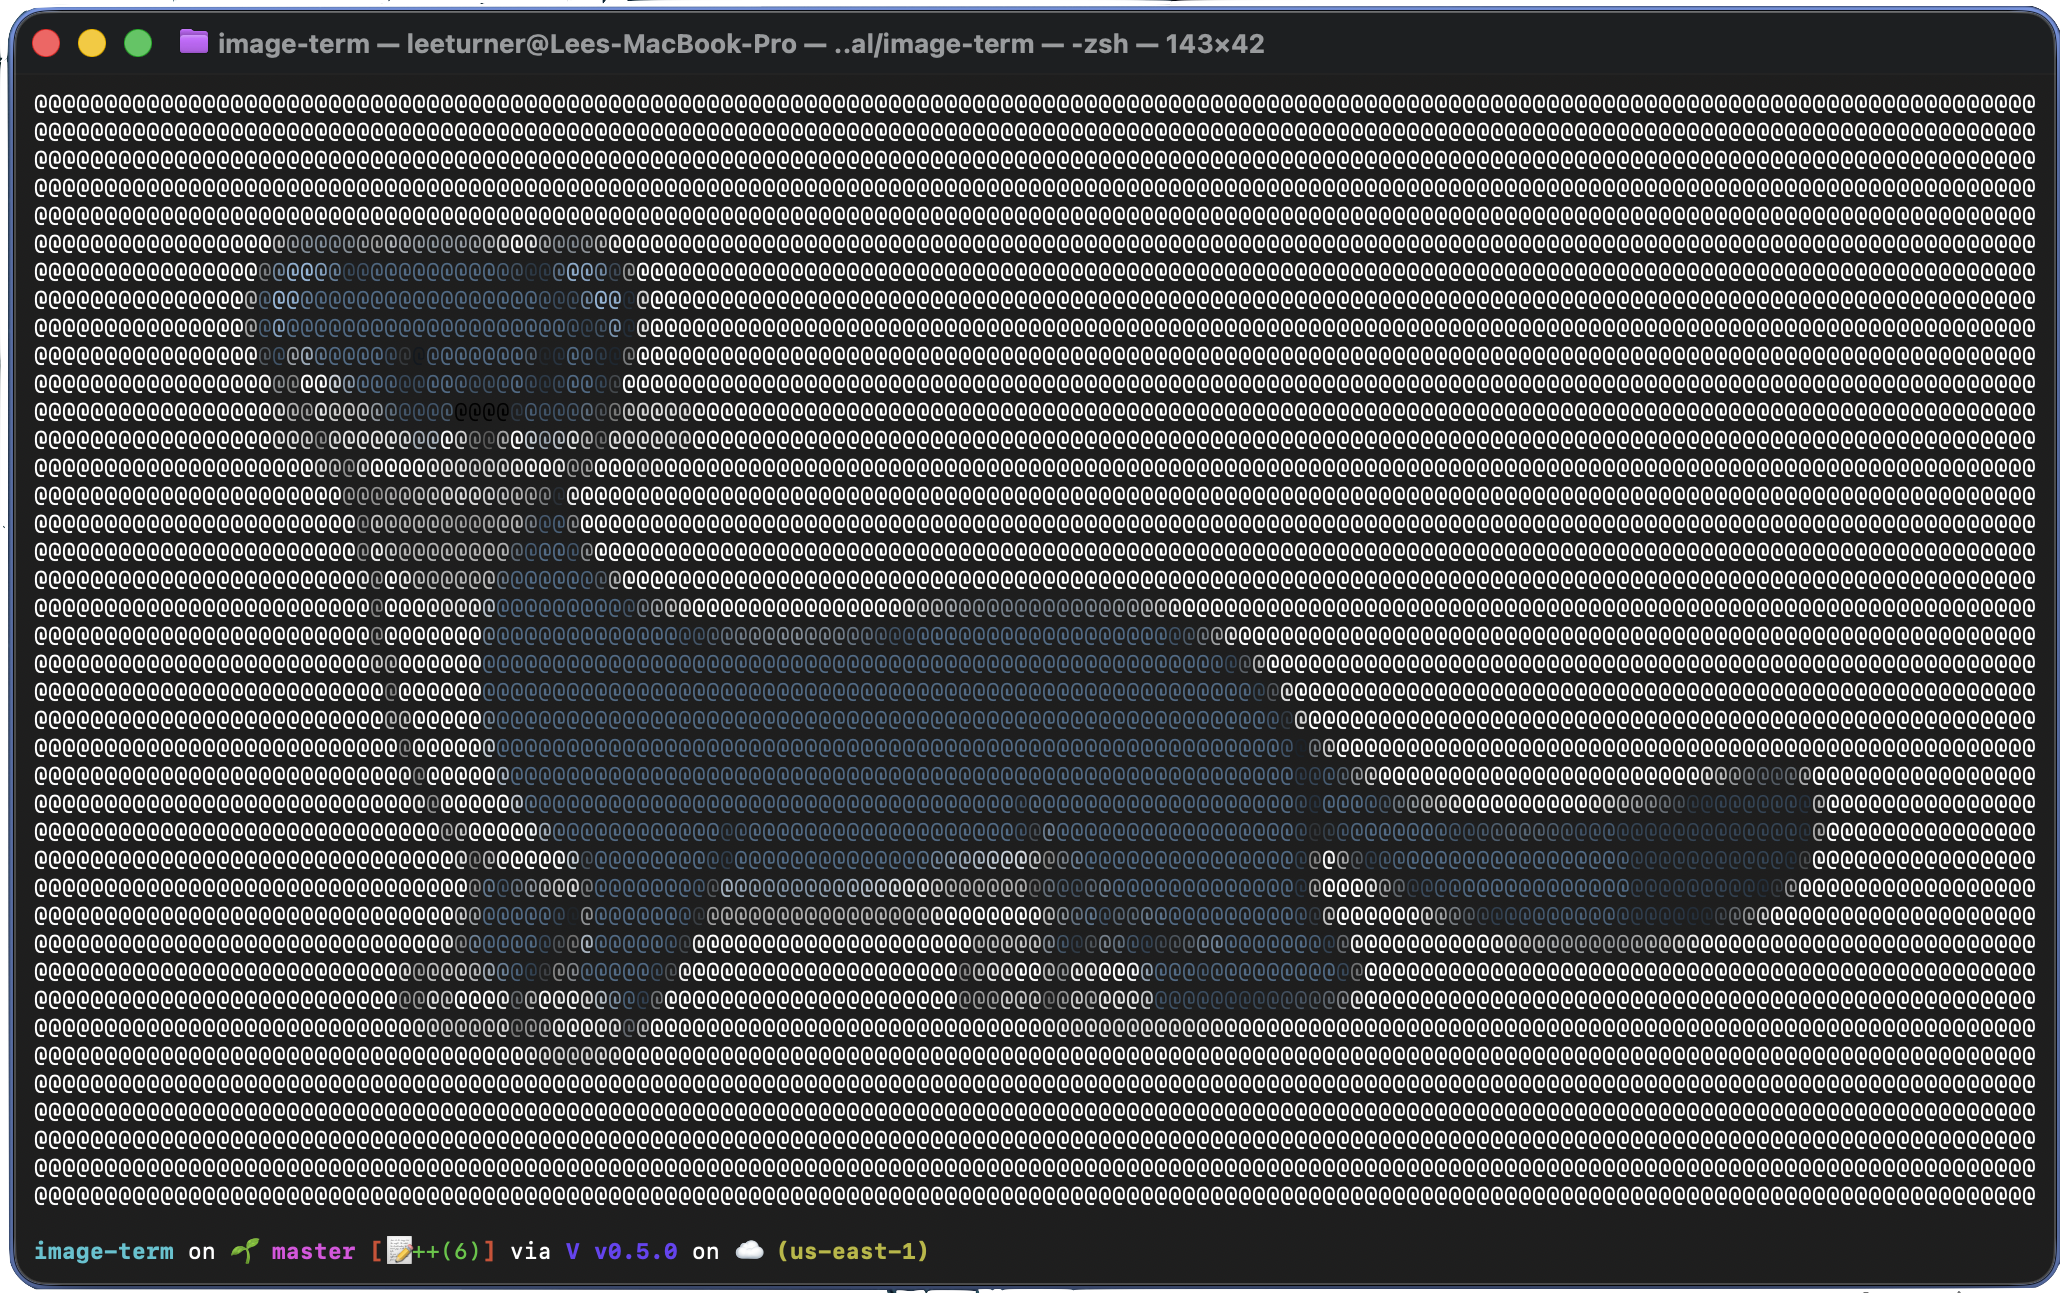
Image taken from the V website.
What it does
image-term takes an image path as an argument, loads it, and renders a coloured mosaic in your terminal. Each character cell in the terminal becomes a single coloured block. The tool detects your terminal dimensions and scales the image to fit, correcting for the fact that terminal characters are taller than they are wide.
How it works
The rendering pipeline has four steps:
1. Load the image
V’s stbi module wraps stb_image C library, which
handles decoding JPEG, PNG, BMP, and other common formats. A single call to stbi.load()
gives you the raw pixel data.
2. Resize to fit the terminal
The image needs to map onto the terminal grid, so it gets resized using nearest-neighbour sampling. The target dimensions are calculated from the terminal size, with an aspect ratio correction factor of 0.5 to account for characters being roughly twice as tall as they are wide.
3. Average colours into blocks
The resized image is divided into grid-sized blocks. For each block, the pixel colours are averaged to produce a single representative colour.
4. Render with ANSI colours
Each block is printed as a @ character using 24-bit ANSI colour
codes via V’s term module. The result is a mosaic that preserves the colour and
composition of the original image.
What I liked about V
V made this project pretty straightforward. A few things stood out:
- The standard library is great - just like Go, all the batteries are included
- Compile times are fast enough that the edit-compile-run cycle feels instant
- The syntax is minimal and easy to read - the entire application is around 120 lines
Basically, V has taken all the best bits from Go and solved all the problems that I mentioned above. It is definitely a language I will be using for future projects.
Source
The full source, including a readme on how to build and run it, is on GitHub.